
There are an increasing number of articles around about how to design websites using InDesign. In theory (and according to the logic of these articles) there’s nothing to stop you designing a web interface in InDesign. In fact, there are some reasons why it’s almost more suited to web design than Photoshop: the ability to keep multiple pages and layouts within one file, the smaller filesize for holding all of those layers.
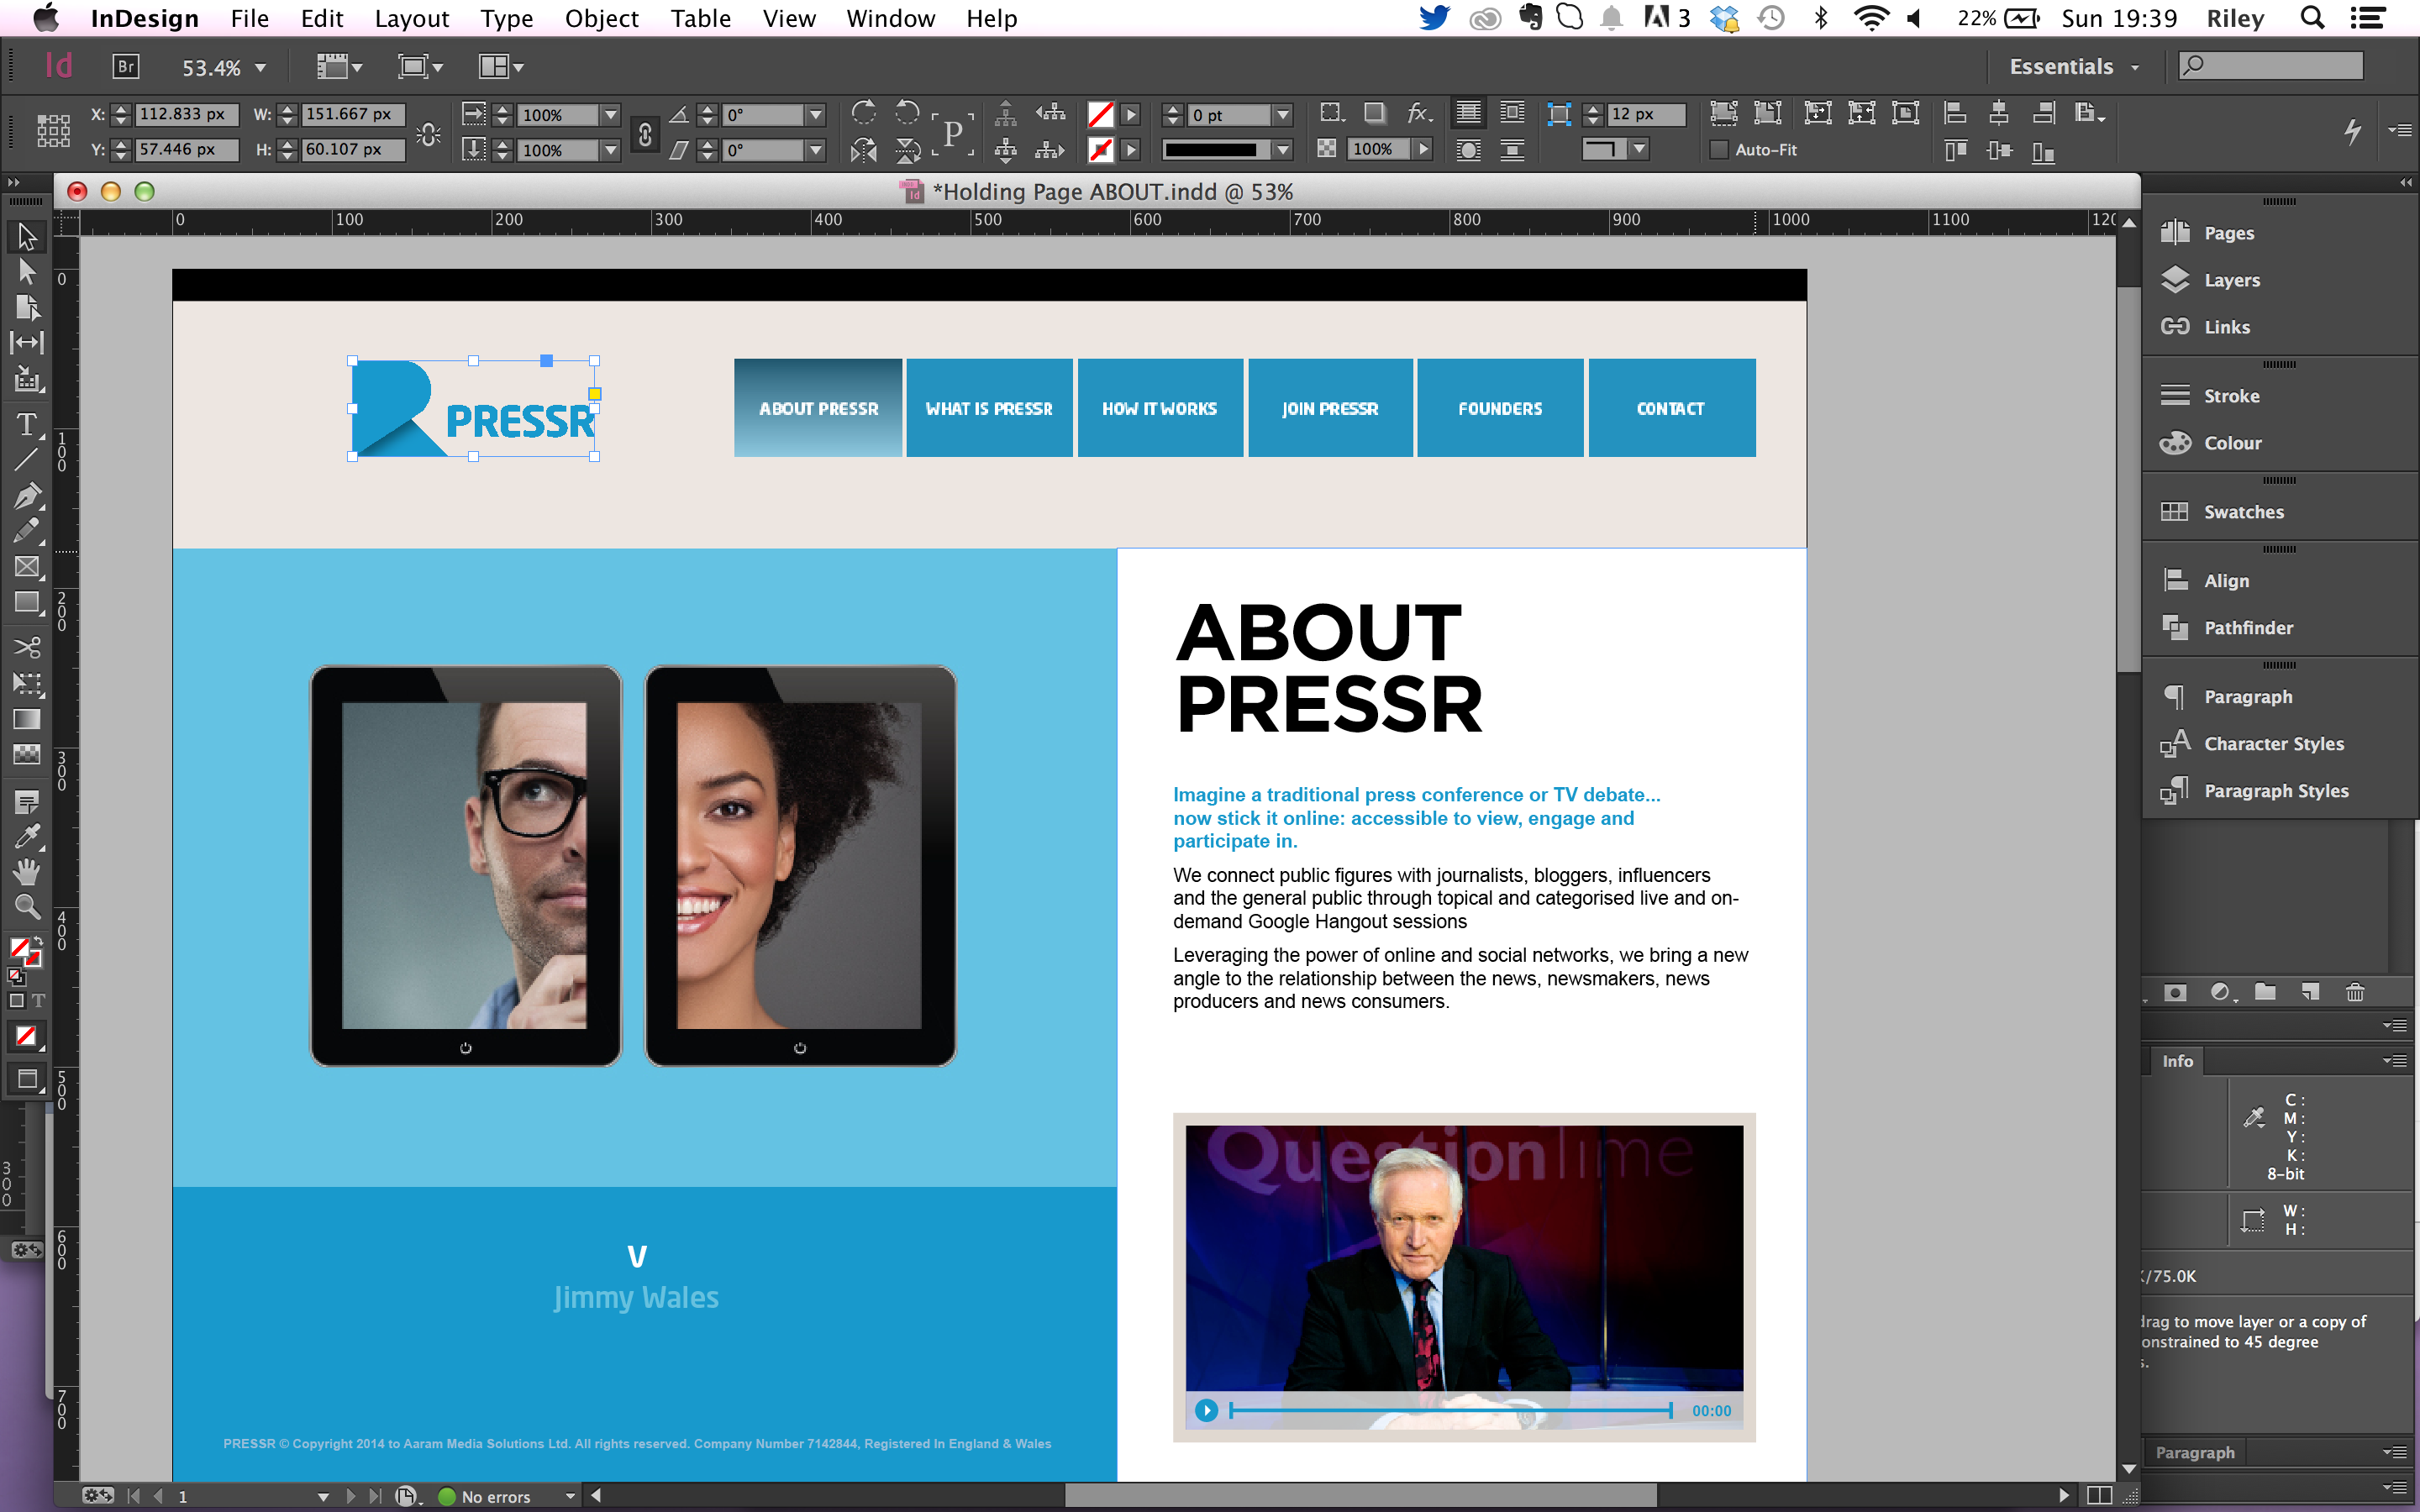
That being said I’d still never advise InDesign as the tool of choice. If you take a reasonably simple layout such as the one I was given for social discussion platform Pressr and use InDesign’s own Export to HTML functionality you end up with a complete mess.

Don’t forget we are looking at software built for print design here. To all of those people, organisations and blogs instructing in how to design for the web in InDesign: stop.
So, here’s the real problem: you’ve been given an InDesign document and you need to make a web page from it. What’s the best way? Previously I’ve faced this problem by exporting the layout to Photoshop as a flat file (PDF or even just screengrabbing it) and working on it as usual.
Here, we assume you have a good working grasp of HTML and CSS in their most recent guises.
Step 1: Export to HTML (to get your images)
Yes, I know I’ve already said the results of this are pretty dire, but what InDesign does do well here is export all of the images you need and at the correct sizes in the right formats. It knows when a PNG is better suited than a JPEG – usually based on the source of the image (an AI file in your layout will be saved out as a transparent gif, a photo makes it out as a jpeg). I did find my images came out twice as large as they were in the design – I’m not sure if this is due to the document set up or something else in the file – but you may need to open these in photoshop and resize them.
Step 2: Get your text
You may find it’s easier to copy the text from your design from the HTML file created in the previous step before you discard it – it’s no picnic to select every text box within a layout and copy the text.
The other method of selecting and copying all text in an InDesign document is to use a script found at Application > Samples > Javascipt > ExportAllStories – this exports every text area as a separate text file, which creates it’s own problems.
Step 3: Start coding
So, you have all of your text in one document and a handy directory full of images, now you need to layout the structure of your HTML document. First up, I recommend downloading a copy of the HTML5 Boilerplate as the basis for your HTML. It’s a solid start, but you might find some parts unnecessary for your project – I rarely use Moderizer on small projects where the HTML will be mostly flat for example. At the very least you’ll a need DOCTYPE, a head (containing your empty stylesheets) and a body. If you don’t have a head or a body I wonder how you hope to do anything in life.
At this stage it pays to layout all of your text (including headers, navigation and footers) on your page in the order that is most logical for it to appear. What you’ll make here is a document without styles that shows your text in the right hierarchal order. In the case of our Pressr design, even though the hero image and that quote are first in reading order, if I were looking at this without images, I would probably want the main text to appear first. This is simply based on what’s most important on the page and without the user having to scroll. If this page is also to be responsive then I image mobile users would have a lot of scrolling to do if encountering that image first, so let’s just start with the main copy.
Wrap your text and divide it into sections using the appropriate tags. Your header should be in a header tag, your footer should be in a footer etc. You can see my Pressr HTML layout at this stage if you like. Notice I’ve placed the main content in a section tag and the image and quote in an aside tag. Sections are often used as a replacement for a div, although this is incorrect usage according to the spec – they should be used for content that could be considered stand-alone i.e. if placed on another page would still make sense on it’s own. Asides are used for content related to the current page, but not necessary for understanding it, hence my usage here. When viewed in the browser at this stage without styles, this is what you get:

I could leave it at that really – Google would be happy with it certainly – although the client may complain.
Step 4: Get some style
Depending on the size of your project you may want to use a CSS preprocessor such as LESS or SASS, or you may want to employ a framework such as Bootstrap to give you a head start.
Personally I tend to find frameworks are more useful if you are prototyping and need elements with pre-defined styles so you can just add a class and forget about the styling for a while. This design is pretty straightforward and we only have a handful of pages (all similarly styled) so I’ll just be coding my CSS from scratch.
I will include a CSS reset (everyone should), but otherwise we’re just going to get stuck in.
Your main ally in InDesign is the Window > Info panel. When you click an image or layout rectangle it’ll tell you the width. This is assuming the designer built this to web specs and using pixels. If not, you may still have to export and open in photoshop in order to resize the design to a suitable size and find out the sizes you’ll need!
If you want to find the colour of an element simply click it and double-click the colour swatch in the left hand tools menu – this will give you the RGB colour. If you’re keen to use the hex value, then you’ll either need to convert it or you can find the value in the Character style palette as detailed in this article.
The finished product can be seen at pressr.co.uk